
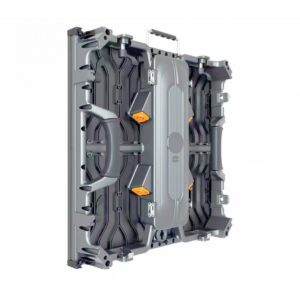
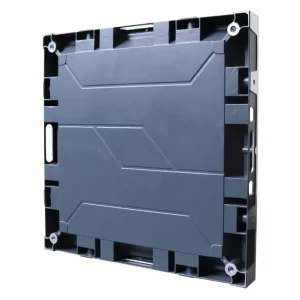
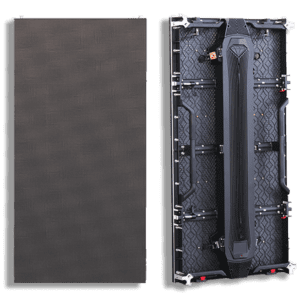
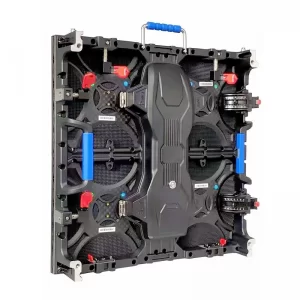
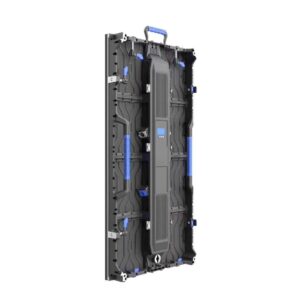
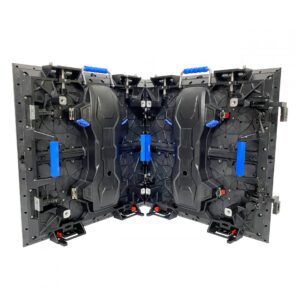
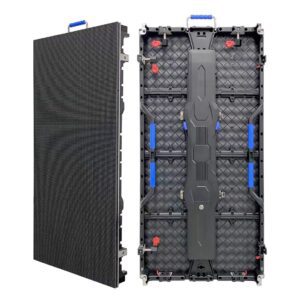
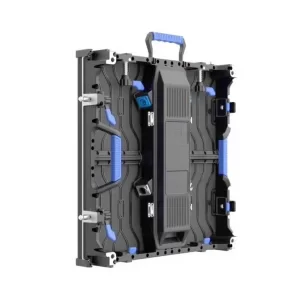
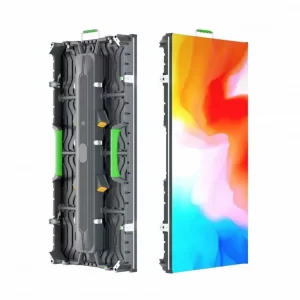
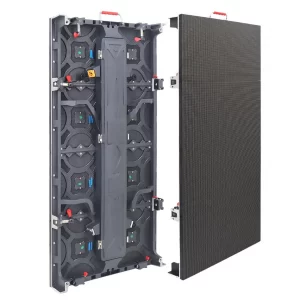
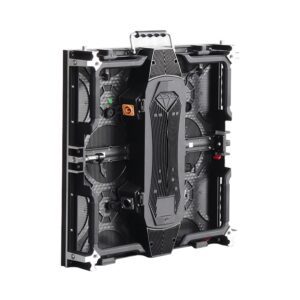
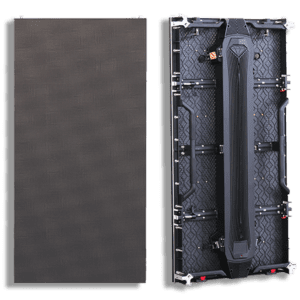
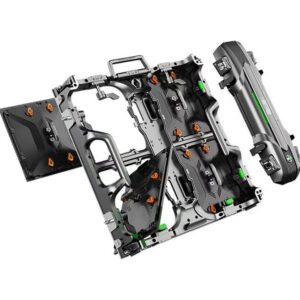
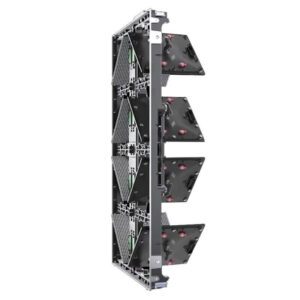
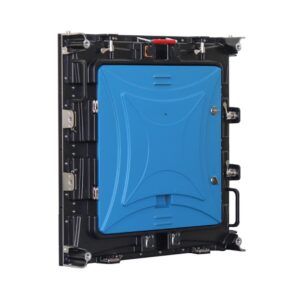
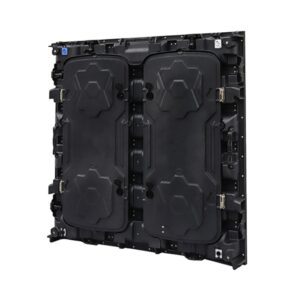
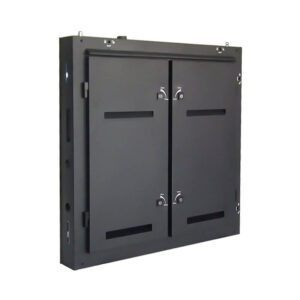
RGB Full-Color LED Matrix Panel for Raspberry Pi/Arduino/ESP32 P3mm P2.5mm P4mm P5mm Pitch 64×64 4096 Individual RGB LEDs Brightness Adjustable with Adapter for Directly Plug
When driving RGB LED Panels (such as HUB75 matrices or addressable WS2812B/NeoPixel panels), selecting the right microcontroller changes how you write code, manage memory, and handle power.
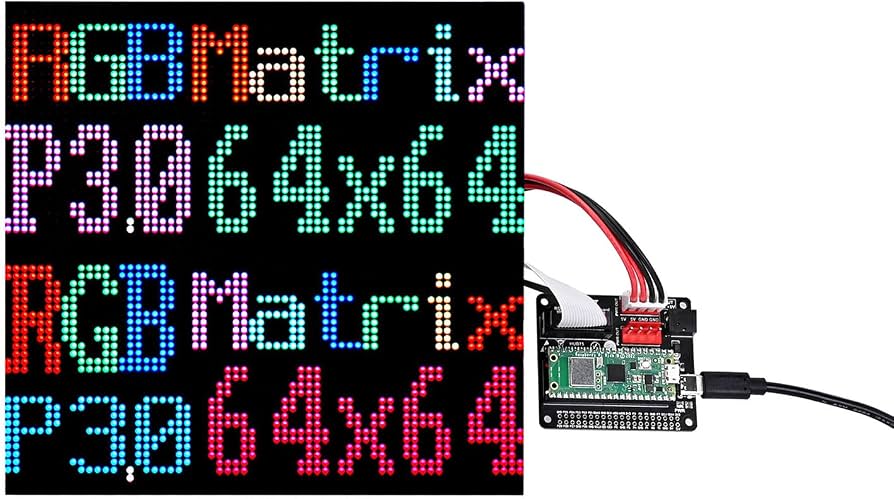
Key Matrix Options & Platform Breakdown
There are two primary types of LED panels you might be dealing with:
1. HUB75 RGB LED Matrices (Non-Addressable): Multi-pin panels (e.g., 16×32, 32×32, 64×64 P2.5/P3/P4/P5). They do not have built-in driver memory and require constant, high-speed refresh cycles from your controller.
2. Single-wire data lines (e.g., 8×8, 16×16 flexible grids). Each pixel has an integrated chip that handles its own state, dramatically reducing processor overhead.
| Controller Platform | Best LED Panel For | Recommended Library | Performance & Limitations |
| Arduino (Uno/Mega) | Tiny grids (8×8), basic 7-segment setups. | Adafruit_NeoPixel or Adafruit_GFX | Very limited RAM. Cannot run HUB75 panels smoothly due to slow processing speeds. |
| ESP8266 | Small HUB75 displays (32×16), basic IoT clocks. | PxMatrix or FastLED | Single-core, limited pins. Struggles with large HUB75 matrices due to a lack of hardware DMA (Direct Memory Access). |
| ESP32 | Standard HUB75 panels (64×32 or 64×64) and complex animations. | ESP32-HUB75-MatrixPanel-DMA | Dual-core with excellent hardware DMA support. Refreshes the display in the background without stuttering. |
| ESP32-S3 | Massive setups, video playback, and AIoT integrated grids. | ESP32-HUB75-MatrixPanel-DMA | Top pick. More GPIOs, faster processing, and dedicated vector instructions. Often available as all-in-one boards like the Waveshare ESP32-S3-Matrix. |
| Raspberry Pi | Full-scale video walls and web-dashboard streaming. | rpi-rgb-led-matrix (Henner Zeller) | Operates as a mini-computer. Can drive multiple daisy-chained panels effortlessly but requires strict 5V level-shifting. |
Hardware Requirements Checklist If you are using a HUB75 LED Panel, ensure your hardware configuration satisfies these rules to prevent flickering or ghosting:
1. Logic Level Shifter: Microcontrollers like the ESP32 and Raspberry Pi output at 3.3V, but standard HUB75 modules expect a 5V logic signal. Use a high-speed level shifter like the 74HCT245 to clean up data transmission.
2. Check your panel’s back matrix driver chip. Standard open-source DMA libraries work out of the box with popular chips like the MBI5124, ICN2037BP, and FM6124. Avoid panels with non-standard proprietary PWM initialization sequences.
3. Dedicated Power Supply: LED panels pull significant current. A 64×64 panel can draw up to 4A to 5A at 5V when displaying full white. Never power a large LED panel directly from your microcontroller’s 5V pin.
Step-by-Step Implementation Guide (ESP32 / Arduino IDE).
To control a standard addressable matrix or a HUB75 panel via an ESP32 variant, follow these configuration steps:
1. Open your Arduino IDE, navigate to the Library Manager, and search for the specific driver required for your panel type (e.g., ESP32-HUB75-MatrixPanel-DMA for HUB75 panels or Adafruit_NeoPixel for addressable panels).
2. Configure Pin Mapping: Define your R1, G1, B1, R2, G2, B2, and clock lines inside your code based on the microcontroller pinout you choose.
3. Run a Hardware Test: Load the pixeltime or default library pattern example to ensure the refresh rates and scan rates match your module (1/8, 1/16, or 1/32 scan).
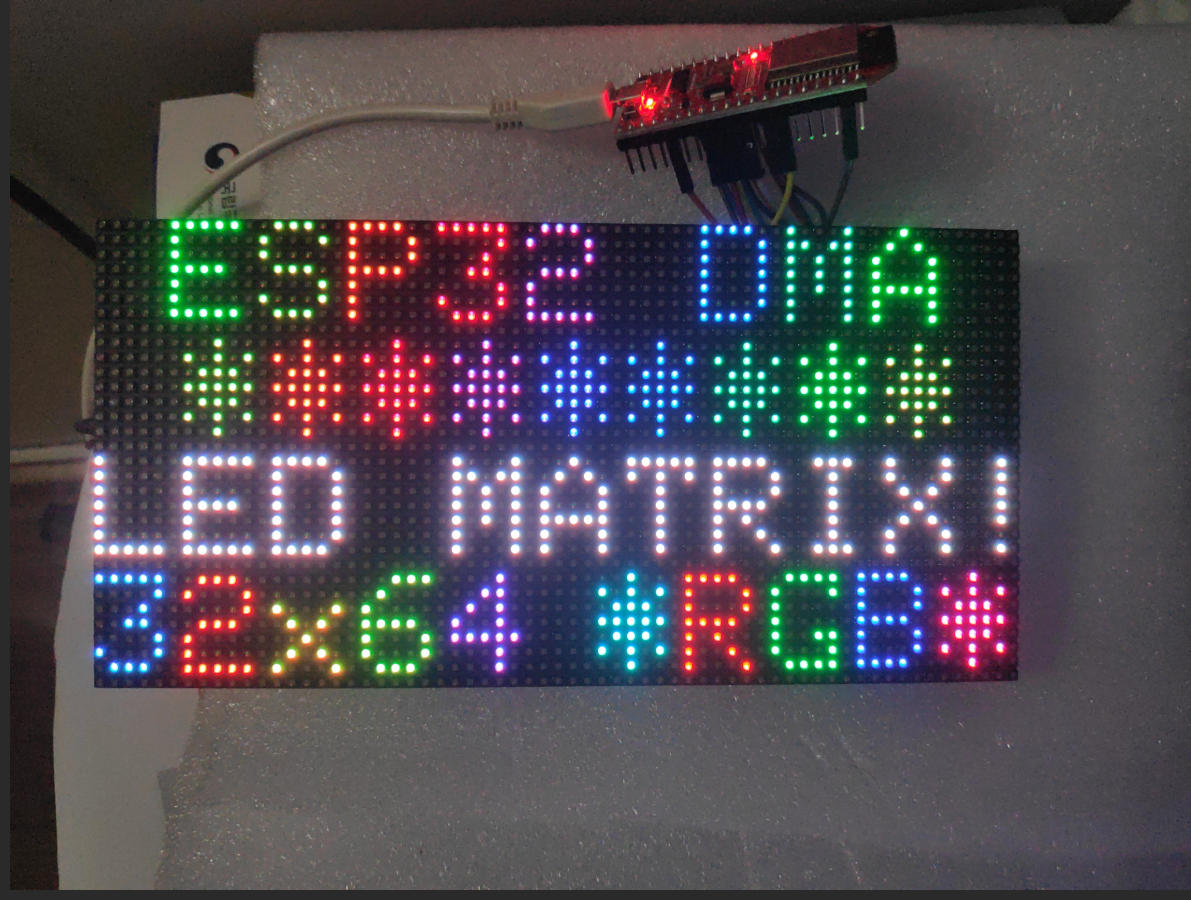
Driving an RGB LED matrix panel (typically utilizing the HUB75 interface) with an ESP32, ESP32-S3, or Raspberry Pi requires specific libraries and proper power connections. Standard panels range from sizes like 32×32 to 64×64 pixels and need a dedicated 5V power supply separate from the microcontroller’s logic power.
Controller Comparison
1. ESP32 (Standard): Great for Wi-Fi/Bluetooth projects; uses dual cores to handle the heavy real-time GPIO bit-banging required for HUB75 panels via libraries like PxMatrix.
2. Ideal choice due to extra memory (PSRAM) and DMA support. Specialized boards like the Waveshare ESP32-S3 RGB Matrix make wiring cleaner with dedicated onboard HUB75 headers.
3. Raspberry Pi: Best for high-resolution animations, video playback, or web dashboards. Uses the heavy-duty rpi-rgb-led-matrix C++/Python library, though it requires precise GPIO mapping and root permissions.
Wiring and Power Basics.
1. HUB75 Pinout: Panels use R1, G1, B1, R2, G2, B2 data lines, address lines (A, B, C, D, E), and control lines (CLK, LAT, OE).
2. Power Supply: A 64×32 or 64×64 RGB panel can pull multiple amperes at full white brightness. Always power the panel via an external 5V power supply, and tie the grounds together with your microcontroller.
3. For a great visual guide on setting up text and interactive games, watch this build tutorial on building projects with an ESP32-S3 RGB Matrix board.
LeemanLED RGB LED Display Modules Panel work with Arduino, ESP32, ESP8266, ESP32-S3 Raspberry Pi, and any 2.8V or 3.3V or 3.8V or 4.2V or 5V microcontroller for decorative lighting, indicators, and color display projects.
LeemanLEDscreen Outdoor Indoor Full Color RGB LED Matrix Display Module Panels for Raspberry Pi, Pico, Arduino, ESP32. ESP8266. ESP32s controlled via MQTT. ESP32-S3 with standard open-source DMA libraries. Full Color RGB LED Module with built-in resistors; Common cathode; Generating Pulse Width Modulation (PWM) to R, G, B pins to create any color.
1) DRIVER IC – must be ONE of these compatible chips:
✅ MBI5124
✅ MBI5024
✅ ICN2037BP
✅ ICN2038S
✅ MBI5153, MBI5253, MBI5264
✅ ICND2012, ICN2053, ICN2153, ICND1065L, ICND2153
✅ SM5266P, SM5368, SM16380, SM16208S, SM16380SH, SM16380SC
✅ FM6124, FM6124D, FM6126A, FM6127, FM6353, FM6363, FM6373
✅ RUC7258, DP3246
2) SCAN RATE – must be standard HUB75:
✅ 1/8 OR 1/16 OR 1/4
✅ 1/64 OR 1/32 OR 1/24
3) Other specs needed:
– NationStar Gold Wire LED package (SMD1010, SMD1212, SMD1515, SMD2020, SMD2121, SMD1415, SMD1921, SMD2727, SMD2525, SMD3535)
– HUB75E or HUB75B input standard 16-pin connector
We must avoid chips requiring proprietary PWM initialization sequences(not PWM driver).
The message seems to list several microcontrollers and single-board computers (Arduino, ESP32, ESP8266, ESP32-S3, Raspberry Pi) alongside the phrase “not PWM driver”.If a hardware project requires controlling multiple PWM outputs (such as servos, LEDs, or motor drivers) from these boards without relying on their internal PWM pins or software-emulated PWM, an external I2C/SPI PWM driver board is usually required.